Sharing your WiFI password at home can be tricky, and in most situations, it can be really awkward or time-consuming.
Most good hosts write out the password on a piece of paper, which is good, but your guests will still have to enter the password manually.
But what if I told you that there’s a way to automatically share a WiFi password directly from your iPhone, even if your friends use Android devices?
If you follow the steps in this post, you’ll learn how to share a WiFi password from iPhone to Android – so keep reading!
Use A QR Code
iPhone and Android smartphones aren’t particularly compatible most of the time, but all you need to share your WiFi password is an app that will allow you to create a scannable QR code.
The perfect app for this job is called Visual Codes and it’s free to download. Below are the steps that will help you share your WiFi password directly from your iPhone with Android users in only 5 steps!
- Install The Visual Codes App
To install the Visual Codes app, all you have to do is open the App Store and search for “Visual Codes.” The app will most likely appear as one of the first results. It’s an app made by Benjamin Mayo.

It’s a relatively lightweight app, so press the blue button “Get” and the download will start and finish in less than two minutes.
When the app downloads and installs, open the app, and continue to the next step!
- Create A QR Code
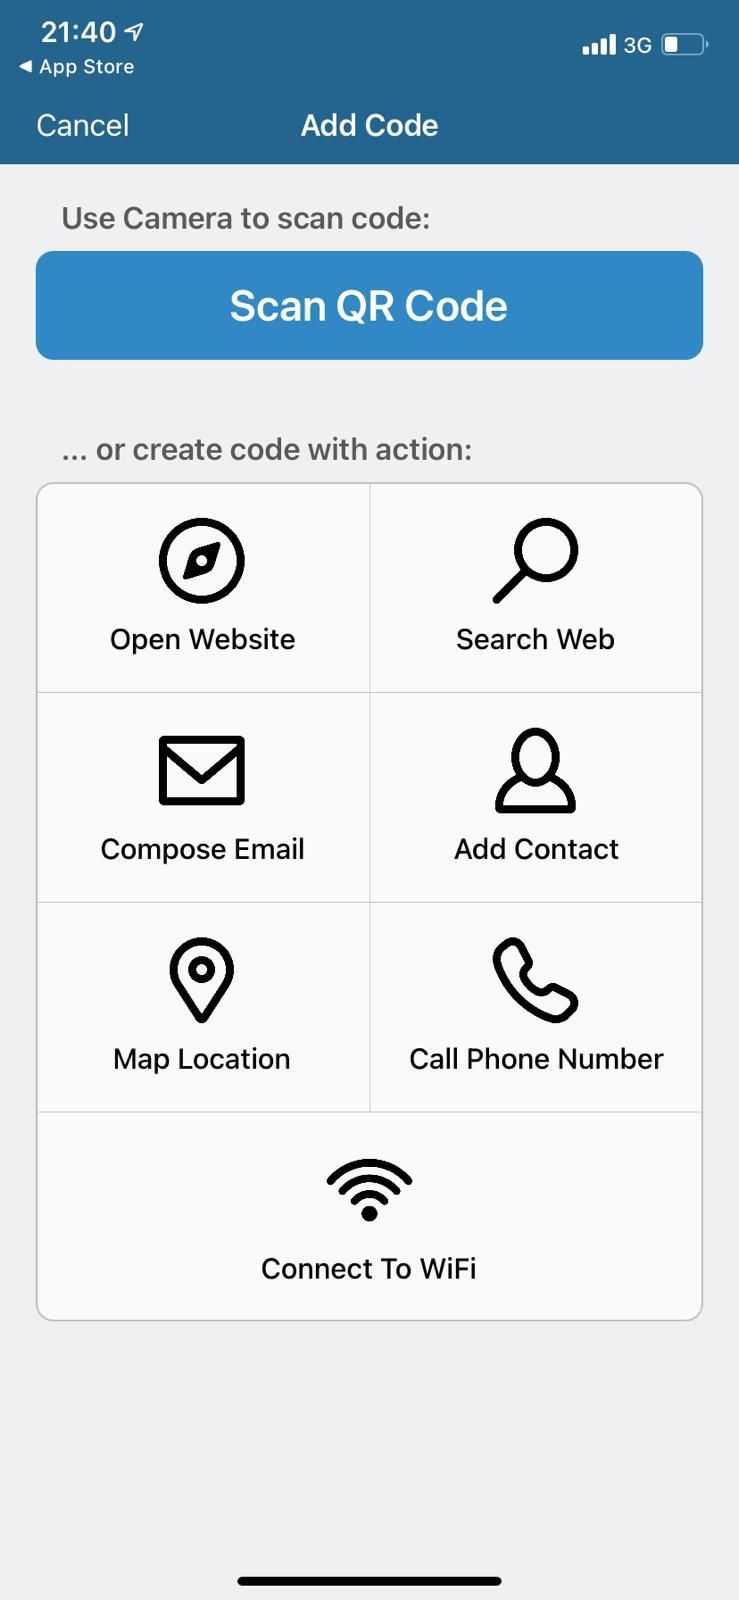
To create a QR code, simply press the “Add Code” button at the bottom of the screen. This will lead you to a new window where you get to choose to create a code with an action.
The last option available is the “Connect to WiFi” action, which will allow any Android user who scans your QR code to automatically connect to your WiFi network.
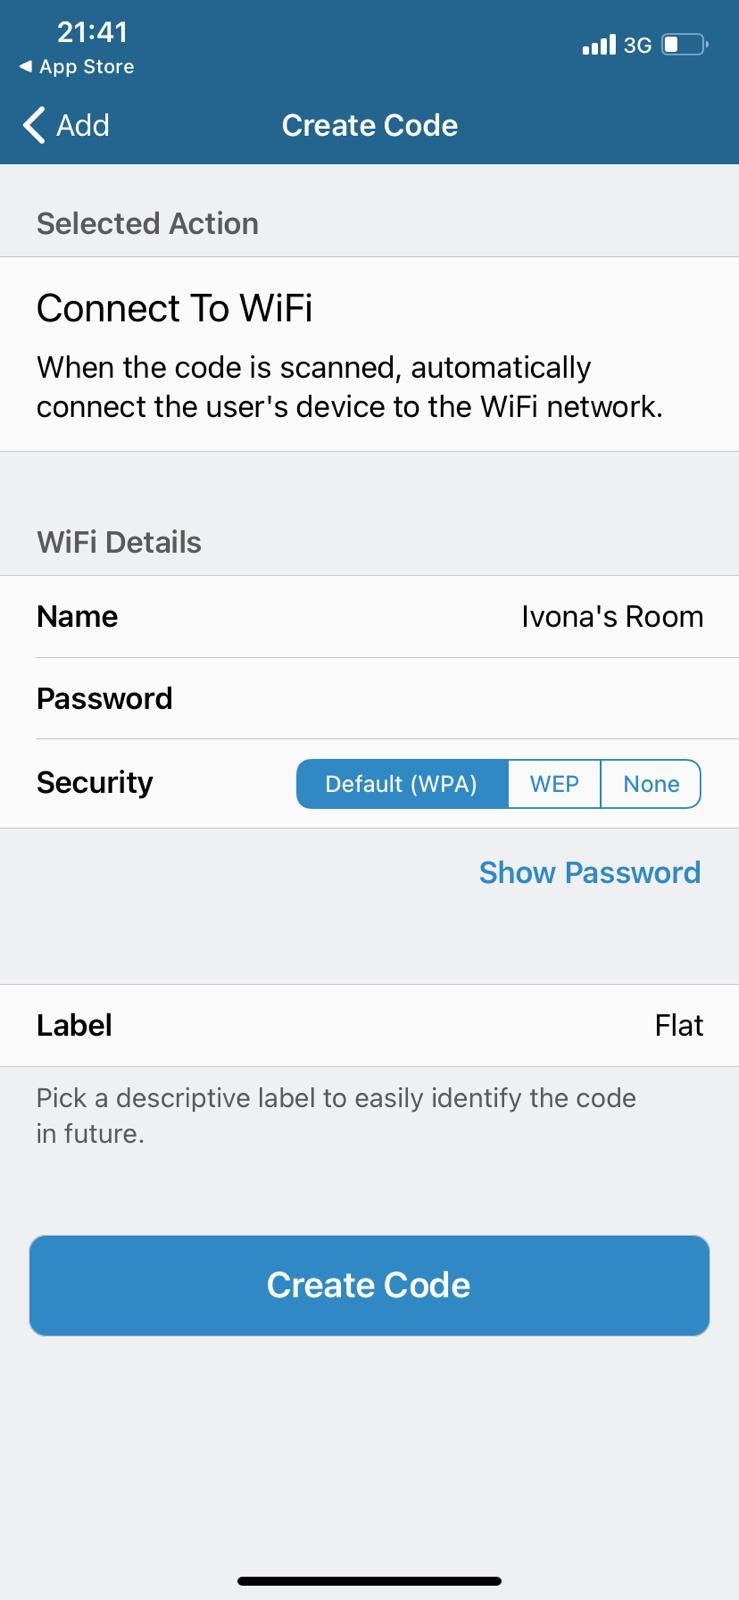
To create a QR code, you’ll need to know three things:
- Your WiFi name
- Your WiFi password
- Type of security
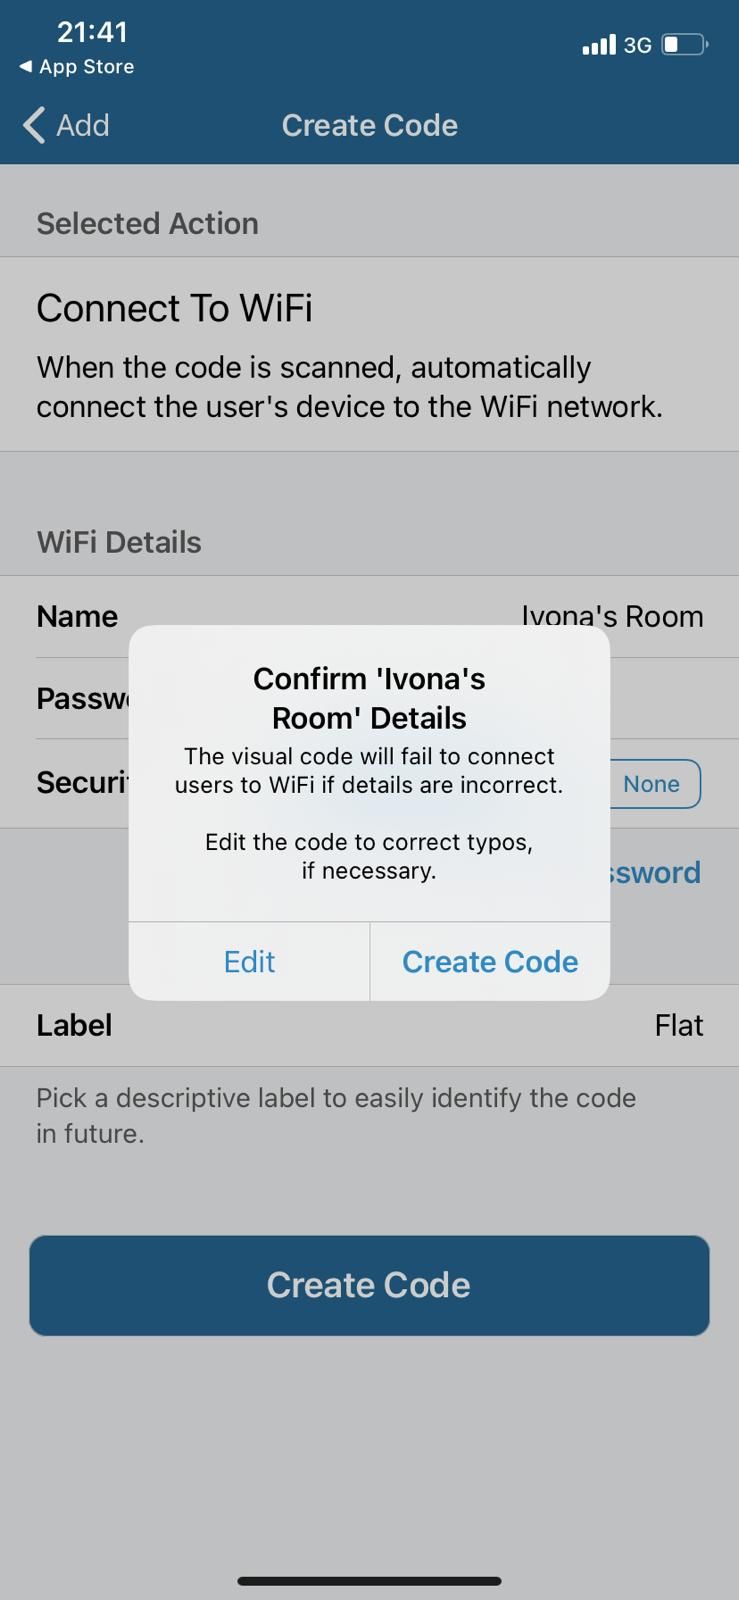
This is the most important part of the creation of the QR code. If you get it wrong, the app won’t be able to tell and your QR code won’t work.
When you fill in all the information, all you have to do is press the “Create Code” and confirm it.
If you are not sure about your Wi-Fi information – continue to step 3. Otherwise, continue straight to step 4.
- Finding Your WiFi Information
If you don’t know the name of your Wi-Fi network, its password, or the type of security – here’s how you can find this important information.
Open Settings on your iPhone and click on Wi-Fi. The network you’re connected to will be displayed by name, and that’s the name you need to put in the Visual Code app to create your QR code.
Your Wi-Fi password is written on the back of your router unless you’ve changed it.
When it comes down to the security type – you need to know that there are 3 types:
- WEP
- WPA
- WPA2
The most common type is WPA/WPA2, so this will most likely be the default for most of the users. However, if it isn’t – you can try changing the security type to WEP.
- Save Your QR Code
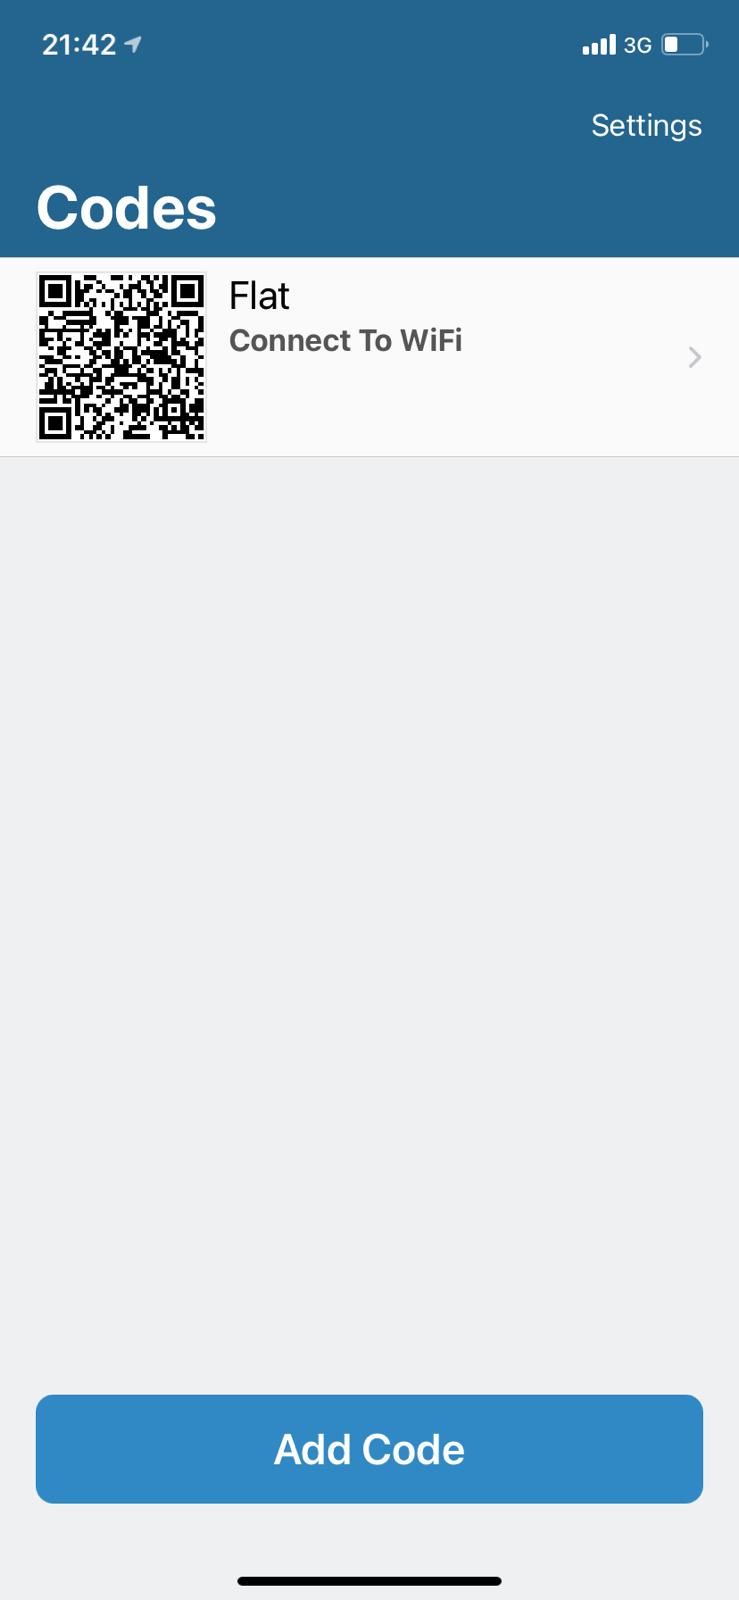
When you successfully input all the correct WiFi information – a QR code will be created. This is the QR code your friends will scan to join automatically join your WiFi network. Therefore, it’s important to save your QR code so you have it ready in any situation.
Your QR code will be stored in the Visual Code app, but it’s highly recommended to take a screenshot of it and keep it in your Photos for easier access.
- Try Out Your QR Code
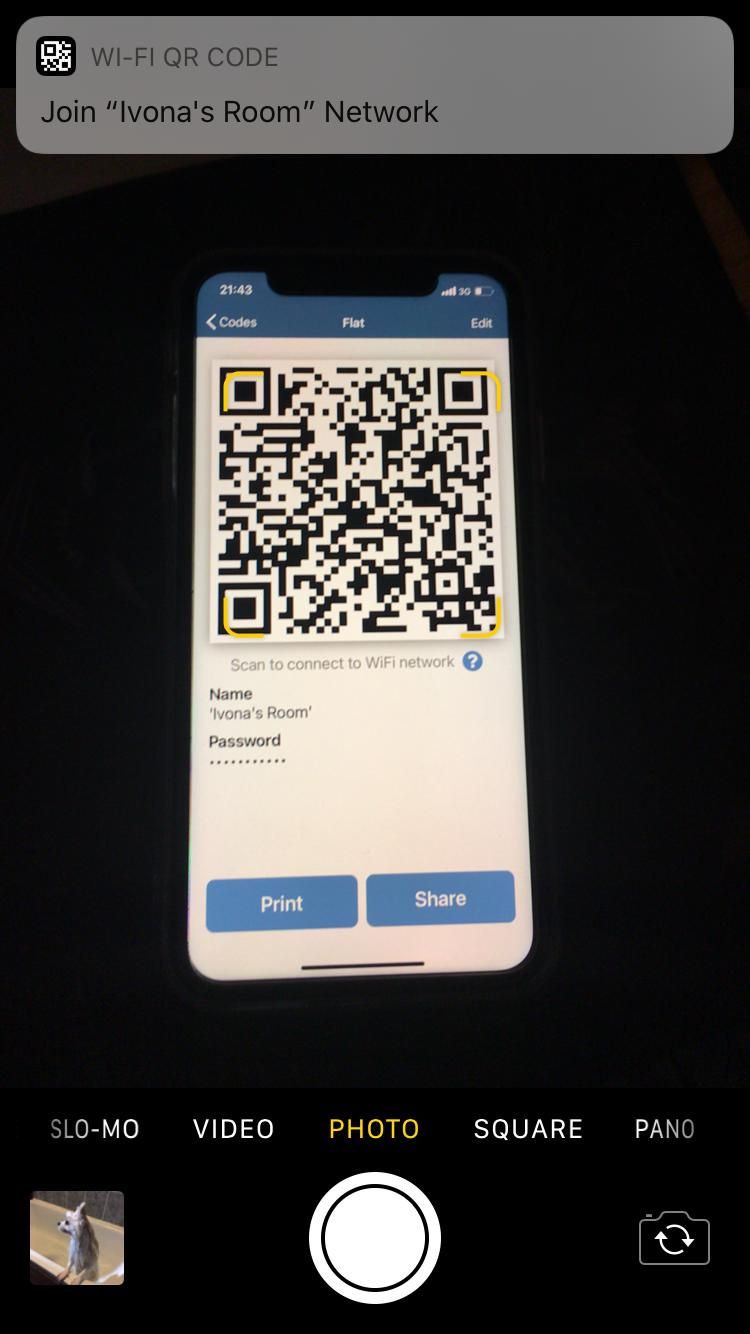
To share your WiFi password to any device, including Android, all you have to do is open the QR code and let your friends scan it.
You can also print the QR code for an additional cost. Unfortunately, the share option that the app includes will only send a shareable link and won’t be scannable, so showing your friends the QR code or printing it is the only possible option.
You can open the QR code within the Visual Codes app or you can open the screenshot of the code you took in step 4.
Optionally, you can get Siri to open the QR code on request by going into the Visual Codes app settings, tapping “Pinned Code,” and under the Siri line – choose the default QR code you’d like to be displayed.
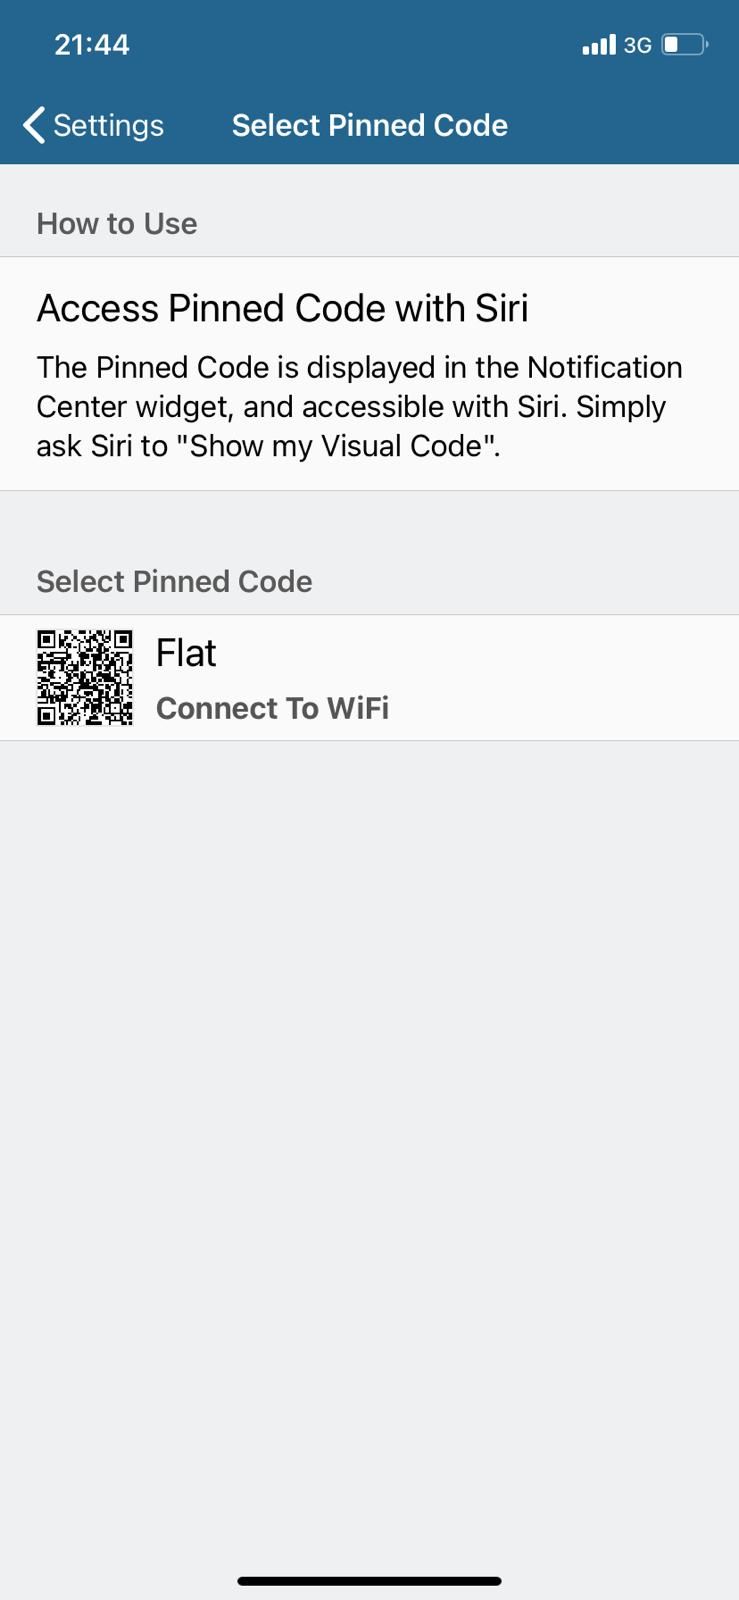
Now when you enabled this feature, simply tell Siri “Show my Visual Codes code” – and you will have the code displayed in seconds.
When your friends open their camera and scan the QR code – it should automatically show a pop-up with the request to join your network.
According to techuntold.com, not all Android phones come with a QR scanner built-into the camera. If your friend’s Android phone can’t scan your code when they open the camera – help them install a QR scanner app on their phone to fetch the data from your QR code.
This will also let them save passwords on their Android so you will only have to share your WiFi password once.
Final Words
Sharing WiFi passwords is something that is very common in daily life. Therefore, save yourself and your guests the hassle of manually sharing your password by taking a couple of minutes to create a simple QR code.
This will bring ease to the process of sharing your WiFi password with others. It also makes the password exchanging process a lot safer, as you don’t need to disclose your password to anyone.
Did you like this tutorial on how to automatically share your password in only 5 steps?
If you did – share this post so everyone can learn about this simple but time-saving trick. If you have any questions, don’t hesitate to leave them down in the comments below and I’ll do everything to help you out!