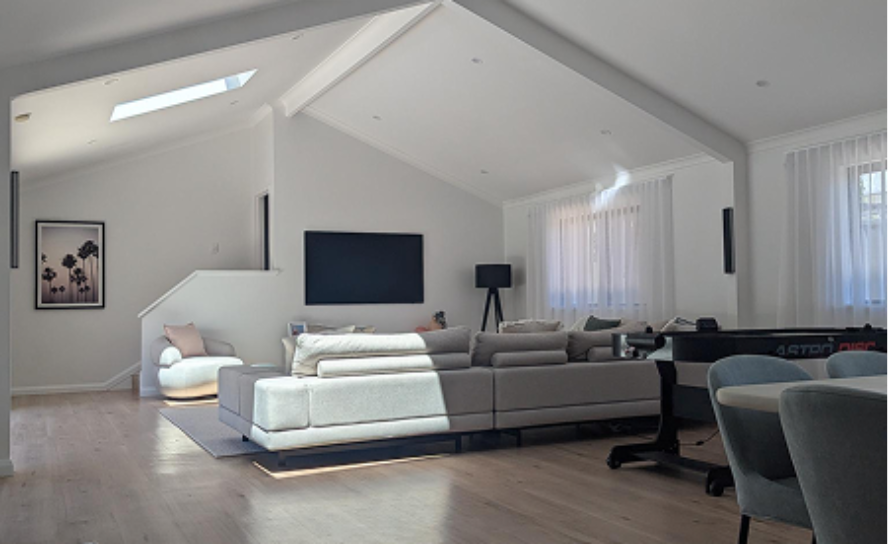
When planning home renovations in Perth, many people usually begin with a grand concept: knock down a wall and open up the area. But this kind of renovation can become stressful pretty quickly when you don’t know if the wall is supporting your roof or how much it costs. You might also be concerned about dust, delays, and the impact on the rest of your renovation.
The good news is that wall removal is a well-defined process, and understanding this helps make your project easier to plan. By following the right steps in the right order, you can keep your renovation safe, within budget, and on schedule.
This article explains the wall removal process for home renovation projects in Perth, from the first inspection to the final cleanup, so you can have a better understanding of the project.
Table of Contents
1. Site Inspection and Structural Assessment
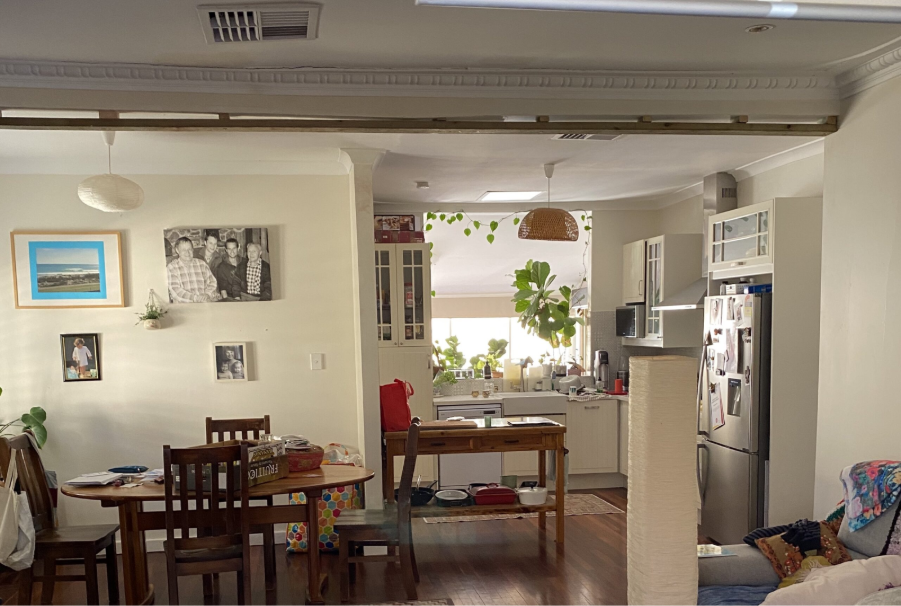
Every safe wall removal Perth project starts with a visit to your home because the builder needs to inspect the wall in person. Photos cannot show what is hidden inside or above the wall, and even small details can change the plan.
During the visit, the builder asks about your home and checks whether the wall is load-bearing. A load-bearing wall supports the weight of your roof, so it needs careful planning before any work begins. A wall that only separates two rooms is usually easier to remove, but the builder still needs to check it before giving advice.
The builder also inspects for gas pipes, water pipes, and electrical wires near the wall. They check between the ceiling and within the roof area, as pipes and wiring can be installed in these spaces. Early detection is important to keeping your family safe and avoiding expensive repairs later.
Once complete, the builder knows what your renovation needs and can discuss it in terms you can understand.
2. Customised Quote and Transparent Pricing
Once the inspection has been completed, you will receive a quote for your home and not just a general price list. This is crucial, as each wall is unique and the final price is determined by what the builder sees on the visit. A simple wall between two rooms typically costs much less to remove than a wall that supports part of your roof.
Changes to the roof are often the biggest cost factor. If the roof requires additional support, additional beams may be required, which makes the work more difficult to complete. The price can also be impacted by the type of support used, as steel beams, LVL beams, and ceiling hangers all have their own cost. The larger openings and heavier loads require materials with greater strength, which can add to the overall cost.
A good quote also includes all the expenses in clear language to help you understand where your money is going. When a Perth builder is transparent in their pricing and has no hidden costs, you can plan your renovation project much better before construction work starts.
3. Wall Demolition and Temporary Support
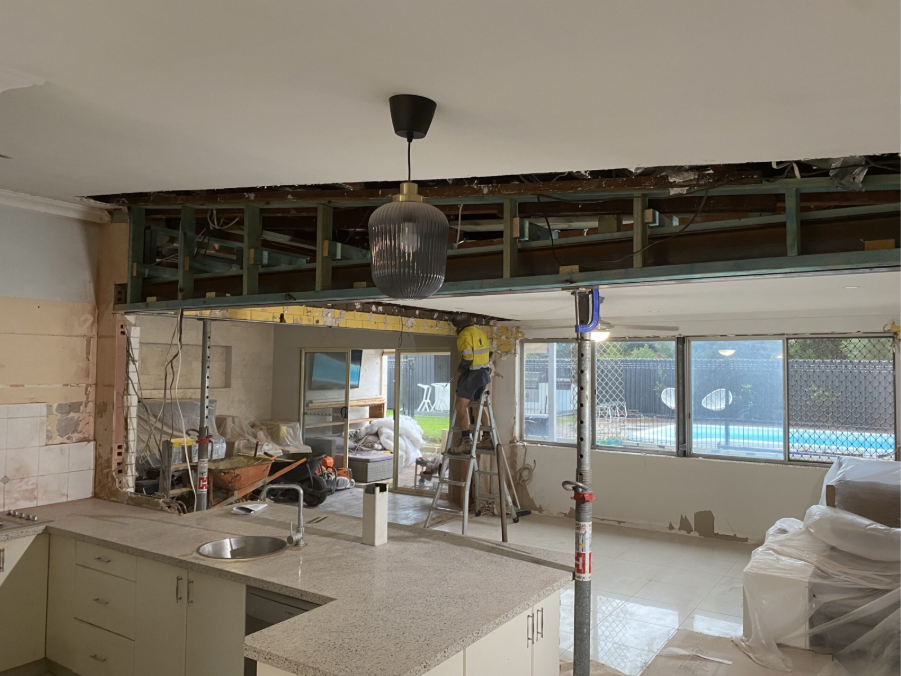
After you have approved the quote, the team gets your home ready to work. They cover the floor, shift furniture around, and safeguard tiles and other surfaces to minimize dust and damage. They also cover doorways with plastic sheets to keep dust inside the work area.
If the wall is load-bearing, the builder puts up temporary supports to help hold the roof down. These powerful props take the weight off the ceiling as the wall is being removed, ensuring that the ceiling stays level and protected throughout. Without these supports, the ceiling could sag as soon as the wall comes out, which is why this step is essential.
Once the supports are set up, the team slowly takes down the wall, typically in sections. Slow work minimizes the chance of damaging pipes, wires, or nearby rooms. The crew also collects and removes waste as they work. As the wall is removed, the rooms become one open space, and the next step includes replacing the support the wall provided.
4. Steel Beam or LVL Installation
After the wall is removed, a strong beam takes over its job of supporting the roof. The beam distributes the load evenly over the newly created opening and transfers it to posts or walls on each end. This helps keep your new open space safe for many years.
Your builder will choose between a steel beam and an LVL beam. LVL is a strong wooden beam made by joining thin layers of timber with glue. LVL is often a good option for shorter openings and lighter loads, while steel is better for wider openings and heavier loads. This decision is made based on the size of the hole and the weight that is hanging above it, and not on how the beam will look.
Additionally, the ceiling hangers are required in some homes to attach the ceiling frame to the new beam. Since every roof has a different design, the right beam for a Perth home depends on the roof span and the weight it must carry. Your builder can explain the choice before work begins, so you understand why that option is right for your home.
5. Ceiling Repair and Final Cleanup
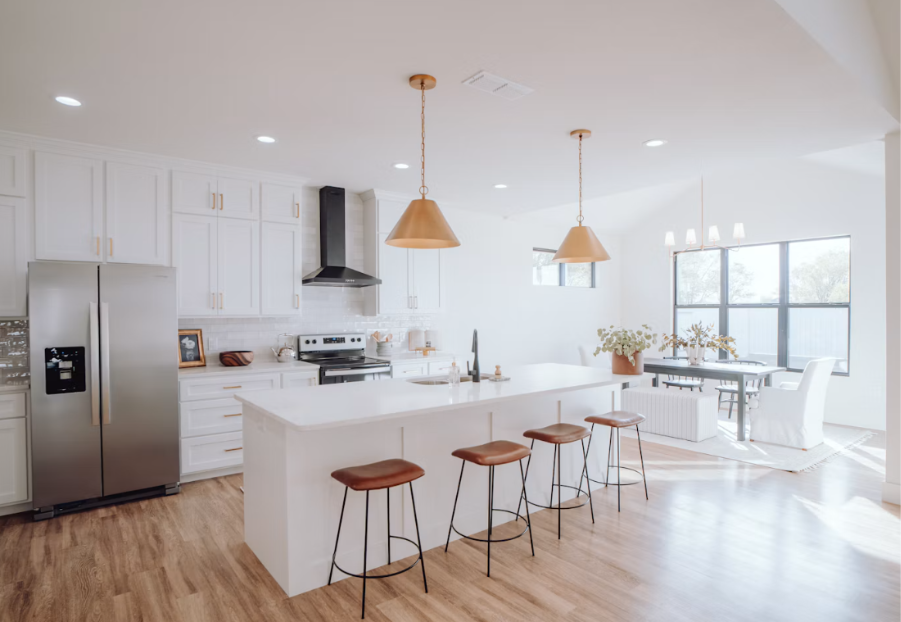
Once the beam is in place, the main structural work is complete, but the ceiling still needs repairs. Removing a wall can leave gaps, cracks, or rough edges along the ceiling. These areas must be fixed before the room looks finished. Otherwise, a visible line may remain where the wall once stood.
A skilled repair team fills the gaps, smooths the surface, and blends the new patch with the existing ceiling. When the work is done well, it becomes hard to see where the wall used to be, and both rooms feel like one open space. This step may take some time because each layer needs to dry before the next one is applied.
The final step is cleanup. The team removes dust and leftover waste, leaving the space ready for painting, new flooring, or a new kitchen. This allows you to move on to the next stage of your Perth renovation without dealing with extra mess.
Conclusion
A home renovation does not have to feel risky or confusing. When you understand how the work is done, you can ask better questions, compare options with confidence, and make choices that suit your family and budget.
Before you begin, write down what you want from the new space and discuss your plans with a licensed builder who can check the structure. A clear plan and a skilled team can make a major structural change easier to manage and create an open space you can enjoy for many years to come.